Introduction
This tutorial describes how to complete an Express Sale in Smartwerks Desktop. Express Sales are used for carryout (Take With) sales when no customer information is being collected. For example, your company might decide that any sale totaling less than $25.00 will not require the entry of customer information.
Special Notes
Smartwerks allows you to set a limit for Express Sales that prohibits transactions over the allowed maximum dollar amount from being completed. The Express Sales limit is set up in Smartwerks Desktop on the System > System Settings > Sales > Sales Orders screen. If you do not want to allow any Express Sales, set your limit to $0.00, and you will be required to enter a customer for each order.
Step-by-Step
- Select Sales > Sales Orders from the top menu.
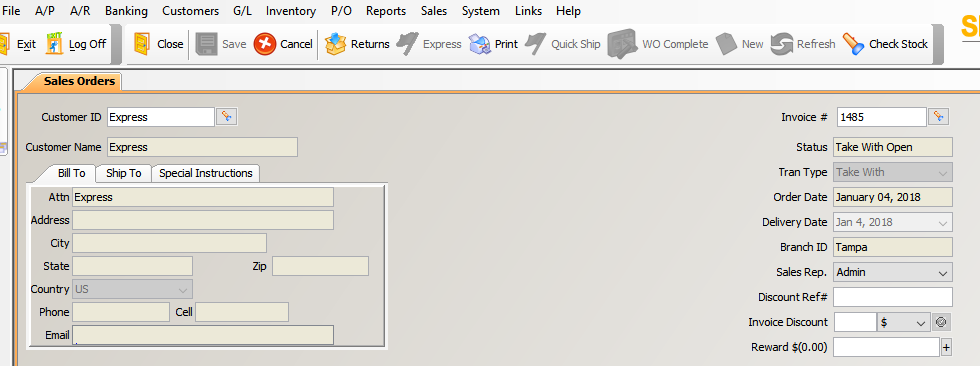
- Click the Express button at the top of the screen.NOTE: Express sales can only be used for Take With sales. Deliveries and Work Orders require the entry of customer information.
- To add a discount to the entire invoice, enter it in the Invoice Discount field. Then specify whether the discount is flat dollar amount or a percentage discount. Click the green check mark button to apply the discount.NOTE: If you don’t have permission to apply a discount (based on security settings), you must obtain approval from somebody who does.NOTE: If your company has a system for keeping track of discounts, you can enter a reference in the Discount Ref # field (e.g. the reason for the discount, the person giving the discount) to help you easily identify the discount at a later time. This is an optional step.
To remove the discount, click the Discount: $ button in the Totals section of the screen. Then from the invoice discount window, highlight the discount you want to delete and click the Remove button.
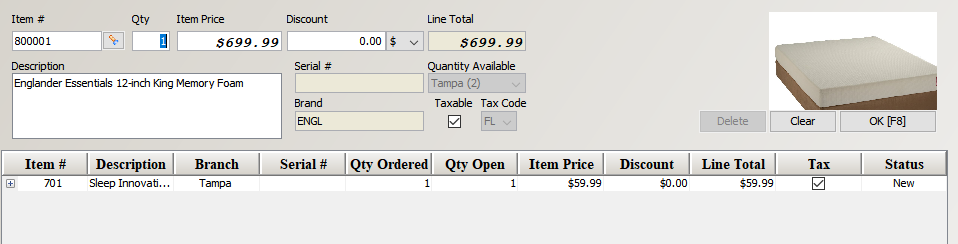
- Scan or enter the Item Number or click the search button to look one up. The item information displays.NOTE: You can edit the item’s price and description on this screen and any changes are applied to this sale only.
- If the item is flagged for serial number tracking in Inventory Maintenance, enter the item’s serial number in the Serial # field.
- In the Qty field, enter the quantity being purchased (the defaults is ‘1’). If you are using a barcode scanner, you can program it to enter a quantity of “1” and automatically move on to the next item.
- The quantity available in your branch displays in parentheses next to your Branch ID in the Quantity Available.
- If there is no quantity available in your branch, you will receive a message regarding committed or unavailable stock. If the sale would result in a negative on-hand quantity, you will not be able to complete the Take With sale unless the preference allowing sales of negative quantities is checked.
- Stock levels for all quantities in all locations can be checked by clicking on the Check Stock button in the toolbar.
NOTE: If you are selling a gift card or an item that requires a serial number, the quantity will be “1” and cannot be changed (since each quantity of the item requires a separate gift card or serial number).
- If you need to apply a discount to the item, enter it in the Discount field. From the drop-down menu to the right, specify whether the discount is flat dollar amount or a percentage discount.
- The Line Total field automatically displays the discounted price. The amount of the discount will print on the invoice.
- As with the Invoice Discount, you must have security permissions to apply the invoice.
NOTE: If the item you are selling is a gift card/certificate, you will not be able to apply a line item discount unless you have chosen this option in the System Settings screen.
- The customer is automatically flagged as taxable. Uncheck the box if the item should not be taxed.
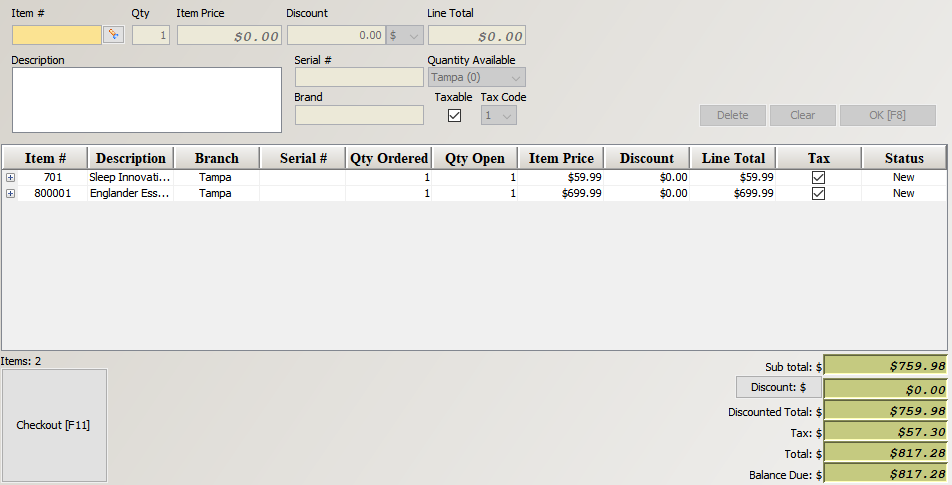
- When all of the item information is correct, click OK. The item appears below.
- To delete an item, highlight it and click the Delete button.
- To edit an item, highlight it, make the necessary changes, and click Update.
- Repeat steps 5-10 until all items are added to the transaction.
- Click Checkout.
- To cancel an order before checkout is complete, click the Cancel button in the toolbar.
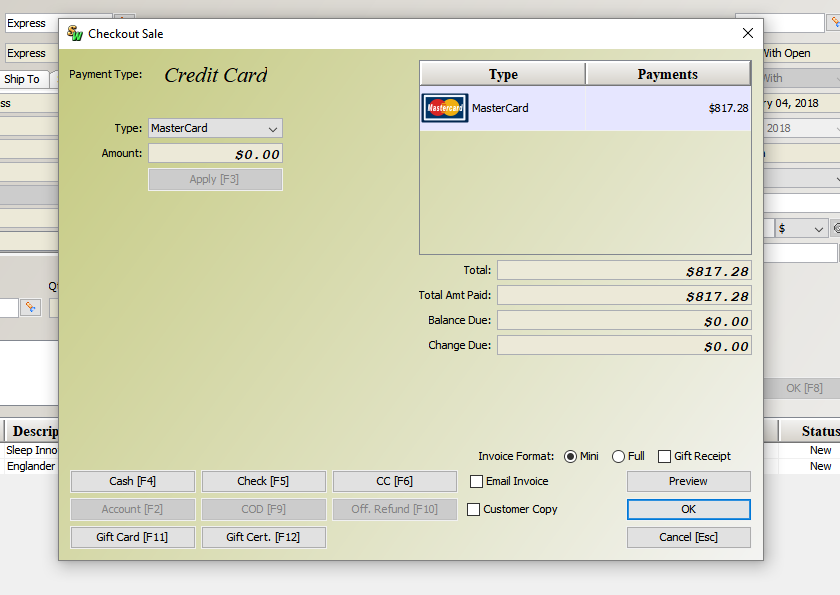
- Select the payment type for the transaction. You can split payment among multiple payment types if necessary. Valid payment types are:
- Cash
- Check
- A/R Account
- CC (Credit Card)
- Gift Card
- Gift Certificate
- Enter the amount being applied for this payment type.
- Enter any required information for the payment type and click Apply.
- Provide change to the customer, if necessary.
- Specify whether to print a Mini Receipt, Full Receipt, or Gift Receipt.
- Check the Email Invoice box to send a digital receipt to the customer.
- Click Ok to complete the transaction and print the invoice.